SHAPING THE BOW
The last photo in the previous segment showed a bow that has just been
removed from the form. The next step, in the bowbuilding process,
will be to remove the excess glue from along the bows edges. At the
same time you will need to square up the blank, to make it possible
to mark the bows longitudinal centerline. You can use a hand sander,
filers or rasps to accomplish these two tasks.
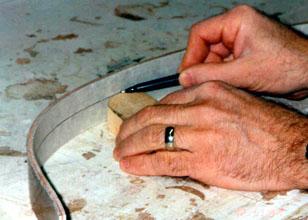
It is vital that an accurate centerline is drawn. This can be
accomplished in several ways. The following photo shows a recurves
centerline being draw using a wood block of the appropriate thickness.
By sliding the block down the limbs back, along the flat surface,
a centerline can be accurately marked. You can also use a long straight
edge which can be clamped to the bow or you can use a piece of string stretched
from limbtip to limbtip. If the centerline is not accurate, limb
twist will be built into the bow.
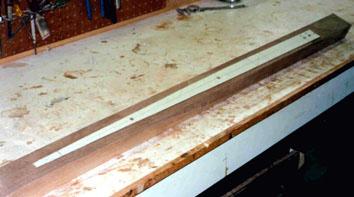
Once an accurate centerline has been established, the bows pattern will
need to be transferred to the back of the bow. The pattern pictured
below is made from a fiberglass strip, however wood patterns work as well.
Please note the holes drilled along the centerline of the pattern, as well
as the string groove line marked across the pattern near the tip.
The holes allow you to see through the pattern and make sure that alignment
of the pattern on the bows limbs is accurate.
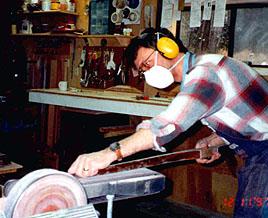
Once the pattern is transferred to both limbs, the excess material can
be removed. On longbows, I prefer to use a bandsaw for this step
although sander and files can also be use. The following photo is
self-explanatory, however I would like to draw your attention to the respirator
and hearing protection. Many processes in a bows construction result
in fiberglass, wood and glue dust, none of which are healthy to breath,
so please us the necessary safety precautions. I always wear hearing
protection as well, since I can't image what it would be like not being
able to hear an elk bugle or the grunt of a buck. OK, enough
lecturing.....:-)