BOWYER TRICKS
AND TIPS
Gluing up a bow for the first time can be
a nerve-wracking experience. Here are a few trips and tricks that can help
you through this experience.
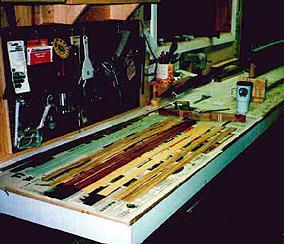
Lay out all of the components of your bow,
in the order that they will be assembled. Don't forget to clean
of any dust or foreign particles with either acetone or lacquer thinner.
Support the Rocky Mountain Elk Foundation by having one of their cups,
full of your favorite beverage available at all times.
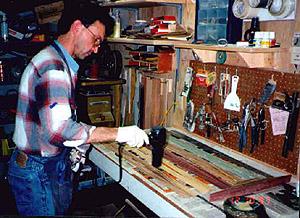
Heating up each lamination prior to gluing helps in the absorption of the
glue and improves adhesion. Take careful note of the color coordination
of the bowyers clothing, right down to the blue handled scissors in his
apron.....very important.
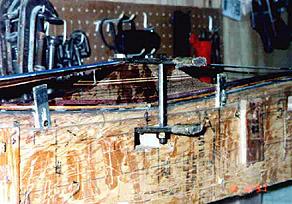
The glued up components of the bow, sitting on the form. The simple clamp
is nothing more than 2 pieces of flat iron and 2 bolts. The bottom of the
clamp is inserted through a hole in the form. When the clamp is assembled
and tightened, it holds the riser in position as well as applies a downward
pressure onto the face laminations. This helps insure a good tight glue
line. The side plates are attached to the form but are not adjusted to
height until later. Note how the face laminations are bridged across the
face arc of the riser.
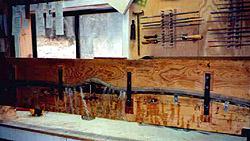
The completed gluing process. The strapping tape pictured here is applied
before the pressure plate, hose and top of the form is assembled. It is
used to pull the face lams down into contact with the face arc of the riser,
as well as holds these laminations in place during assembly of the form.
Another advantage of using strapping tape is that extra pressure can be
applied at the fadeouts.
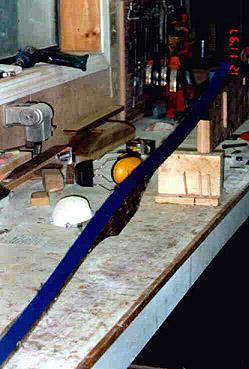
A bow blank fresh out of the oven and the form. The blue tape will be easily
removed after the excess glue is removed from the edge of the bow limbs.
This excess glue is extremely sharp and can cause some nasty cuts if
a person isn't careful..........been there, done that.

